You can partition your Mac and boot the dev beta of macOS Catalina alongside Mojave.
If you've always wanted to partition your Mac's hard drive so you can run a separate operating system — including macOS Catalina — in tandem with your current one, it's surprisingly easy to do so thanks to Apple's built-in disk utility program. Here's how to partition your Mac.
Apple occasionally offers updates to iOS, watchOS, tvOS, and macOS as closed developer previews or public betas for iPhone, iPad, Apple TV and Mac (sadly, no public beta for the Apple Watch). While the betas contain new features, they also contain pre-release bugs that can prevent the normal use of your iPhone, iPad, Apple Watch, Apple TV, or Mac, and are not intended for everyday use on a primary device. That's why we strongly recommend staying away from developer previews unless you need them for software development, and using the public betas with caution. If you depend on your devices, wait for the final release.
What is a disk partition?
Partitioning your Mac is basically splitting your hard drive into separate, usable systems. It makes it possible to run two separate operating systems on one device, like Windows and macOS or two versions of macOS (like Mojave and Catalina).
Note: If you want to run Windows on your Mac, Apple's Boot Camp assistant will automatically make a partition for you. Here's how to install Windows.
It is important to note that partitioning your hard drive also splits up your available hard drive space. Each partition will take up a portion of your usable storage. So, if you are running low on storage capacity on your hard drive, we don't recommend partitioning.
Before you start
The most important thing to do before making any changes to your hard drive is to back it up. Seriously. Back it up. Please. Time Machine is the easiest way to back up your data if you don't already have another system in place.
Second, make sure you have enough free disk space to properly run a secondary operating system. Shoot for at least 30GB free, though I recommend closer to 50GB if you have it available.
How to create a partition on your Mac
- Open Finder from your dock.
-
Select Applications.
- Scroll down and open the Utilities folder.
-
Double-click to open Disk Utility.
- Select your hard drive in the Disk Utility window. It will be the first drive on the list. It might be named "Fusion," or "Macintosh HD."
- Click on the Partition tab.
-
Click the plus (+) button.
- Change the size of the partition you wish to use by dragging the resize controls. The used space is represented in blue.
- Name the new partition.
-
Click apply.
Disk Utility will check the disk and make changes. This will take several minutes.
How to switch partitions
You can switch to the new partition, install the current macOS, and then download and install the macOS Catalina beta from there.
- Click the Apple icon in the upper-left corner of your screen.
-
Select System Preferences... from the drop-down menu.
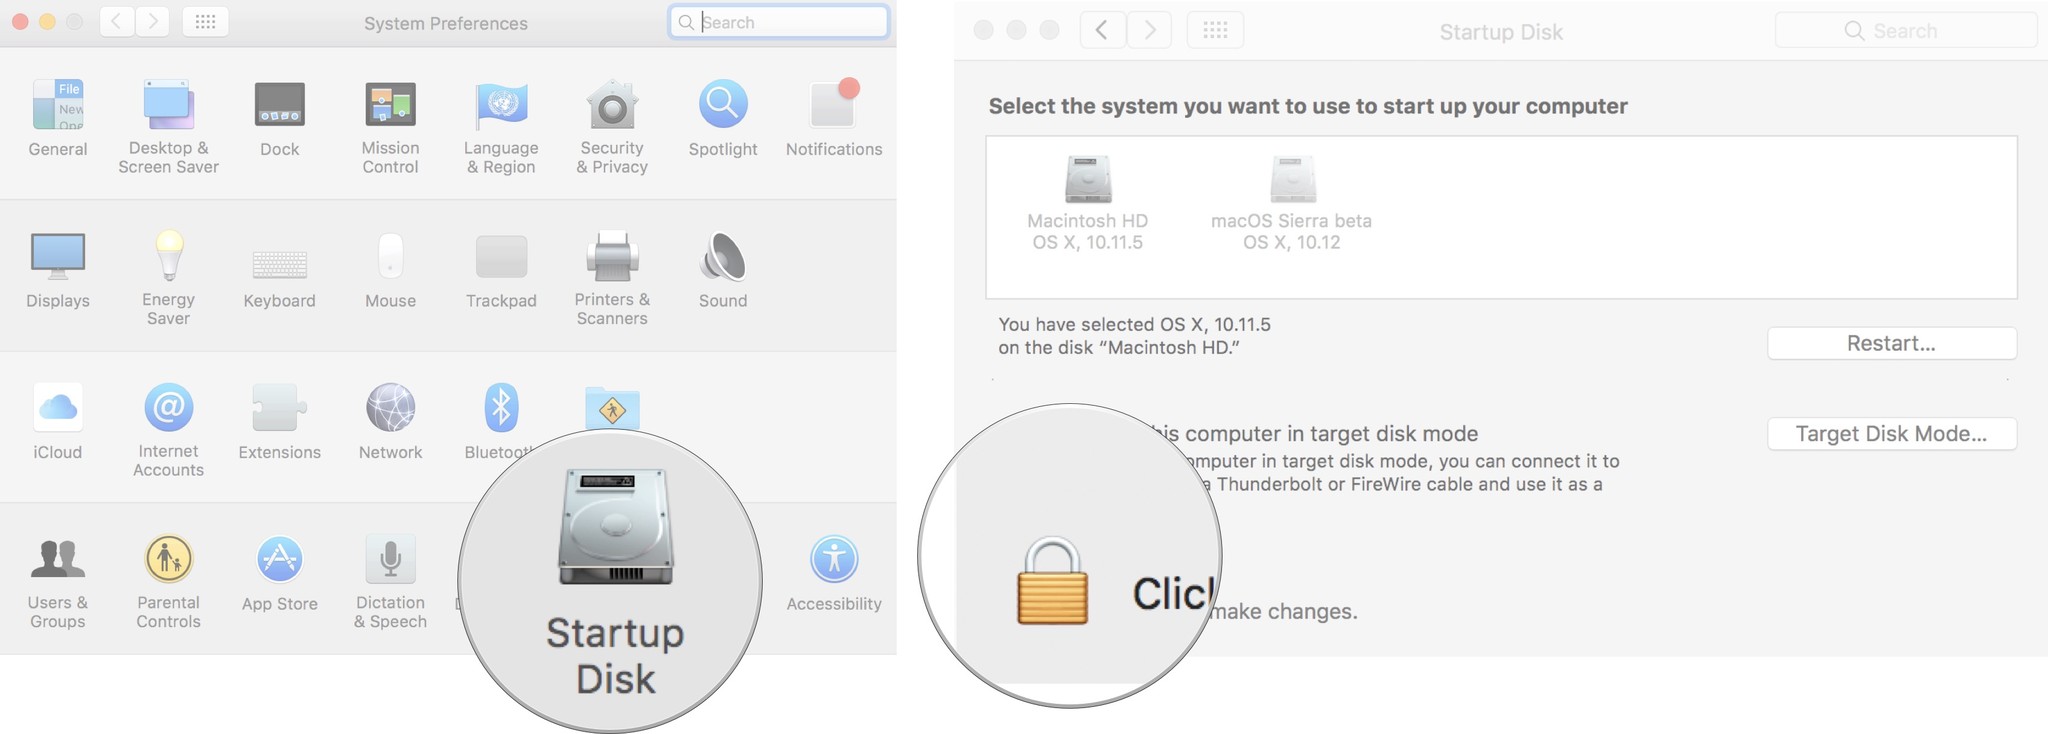
- Select Startup Disk.
-
Click the Lock in the lower left corner of the window to unlock and make changes.
- Enter your system admin password.
- Click OK.
- Select your partition drive.
-
Click Restart.
You can also restart your Mac and press the Option Key when you hear the startup chime. This will take you to the Startup Manager and you can select your drive from there.
If you are testing a beta version of macOS, you'll first install whatever the current version is. Then, you can then install the macOS beta.
How to download the macOS Catalina beta
After you have macOS Mojave installed, you can follow the instructions to download and install the developer beta of macOS Catalina.
How to download and install macOS Catalina on your Mac
Any questions?
Do you have any questions about installing a partition or downloading a new operating system onto a partitioned drive? Let us know in the comments. If you're having trouble partitioning your hard drive, be sure to check out our forums for help!
Updated June 2019: Updated for the macOS Catalina developer beta.
from iMore - The #1 iPhone, iPad, and iPod touch blog http://bit.ly/2QqG8V6
via IFTTT


No comments:
Post a Comment