
Everybody's processing power, graphics, and memory needs are different. When it comes to picking the perfect Mac with the perfect specs, its unique to each person. Luckily, with the 27-inch iMac, you can start with just 8GB of RAM and upgrade it aftermarket with your preferred brand and amount. The latest iMac (Retina 5K) includes four memory slots and offers base RAM of 8GB (2 x 4GB dual inline memory modules (DIMMs)). You can upgrade to a maximum of 128GB (4 x 32GB DIMMs), depending on the model. Here's how to upgrade the memory (or RAM) on the 27-inch iMac.
Hardware you'll need
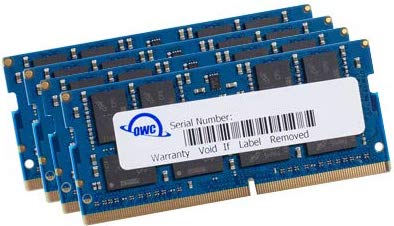
- Maximum speed: 128GB (4 x 32GB DIMMs) ($600 at Amazon)
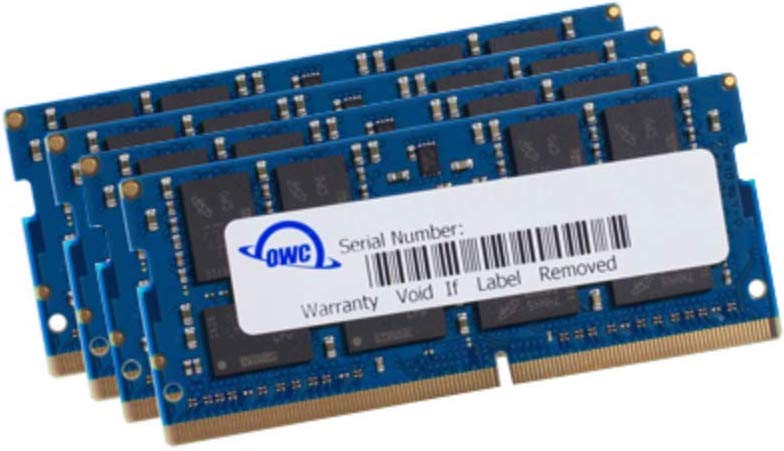
- Middle ground: 64GB (4 x 16GB DIMMs) ($269 at Amazon)
- Small tweak: 32GB (2 x 16GB DIMMs) ($135 at Amazon)
- Prevent damage: Rosewill anti-static wristband ($7 at Amazon)
Let's do this!
Note: Before beginning any upgrades on an iMac, you should back up your data in the event something goes wrong. You should also make sure that you're working in an anti-static environment. For this, we recommend investing in an anti-static wristband.
- Make sure your Mac is turned off for at least 15 minutes before starting to install new memory. This delay will give the machine a chance to cool down.
- Disconnect the power cord and any other cables connected to your computer.
- Place a soft, clean towel or cloth on a flat surface.
- Holding both sides of the computer, place your iMac face-down on the towel or cloth.
-
Open the memory compartment door by pressing the small gray button that's located just above the AC power port.
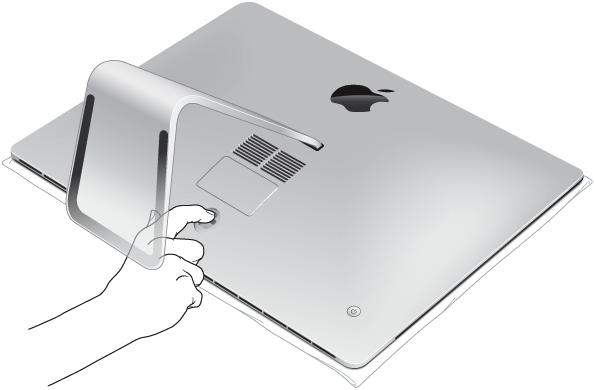
- Remove the compartment door for your Mac and put it aside, leaving the memory cage in place. You'll need this again after you install the new memory.
-
Push the two levers on the left and right sides of the memory cage to release it.
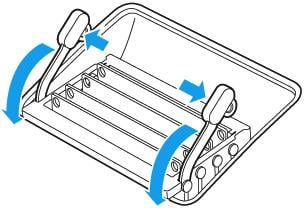
- Pull the memory cage levers toward you. In doing so, you'll have access to the four DIMM slots.
- Remove the existing DIMM(s) by pulling the module(s) straight up and out.
-
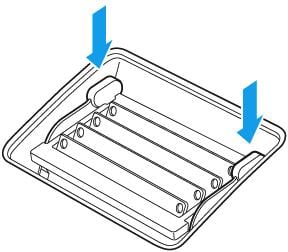
Replace or install a new DIMM by setting it down into the slot and pressing firmly until you feel the DIMM click into the slot. Insert the DIMM with the notch on the bottom, oriented in the correct way.

- Repeat Step 10 to install all of your new DIMMs.
-
Once you've installed all of your DIMMs, push the memory cage levers back into the housing until they click into place.
- Replace the memory compartment door.
- Place the computer in its upright position.
- Plug your cords back into your Mac.
When you first turn your Mac on, it will perform a memory initialization procedure. During this time, your iMac will remain dark. Make sure to let the memory initialization complete.
Confirm your new memory count
To confirm that your iMac recognizes the new memory:
- Click on the Apple logo in the upper left corner of the screen.
- Click on About this Mac.
-
Confirm the new memory on this screen.
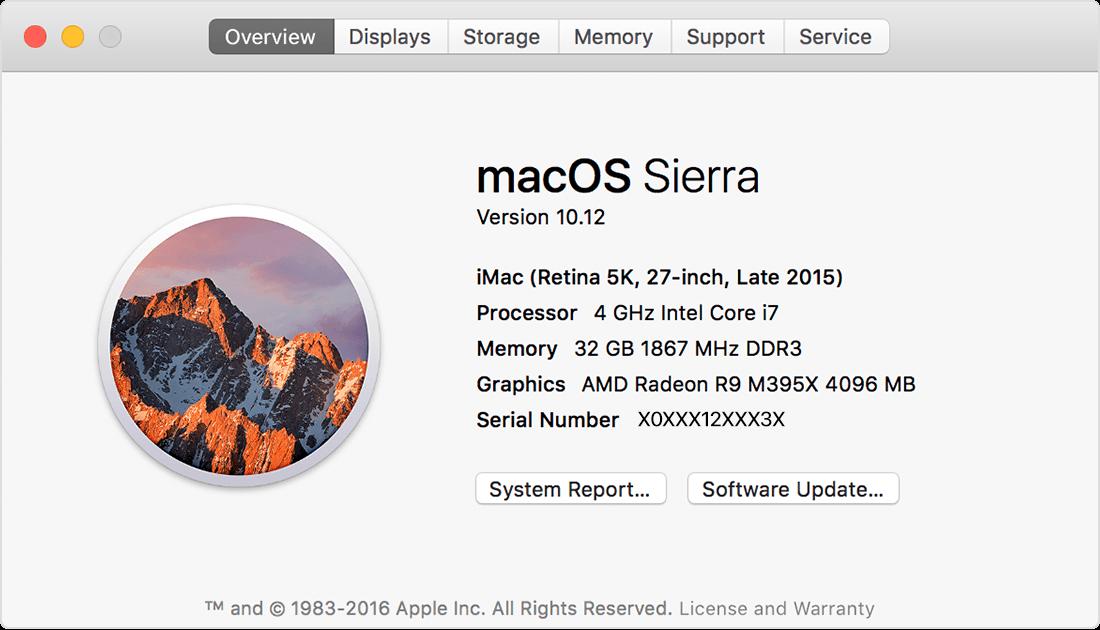
- For additional memory information, click System Report.
-
Finally, choose Memory under the Hardware section in the left side of System Information.
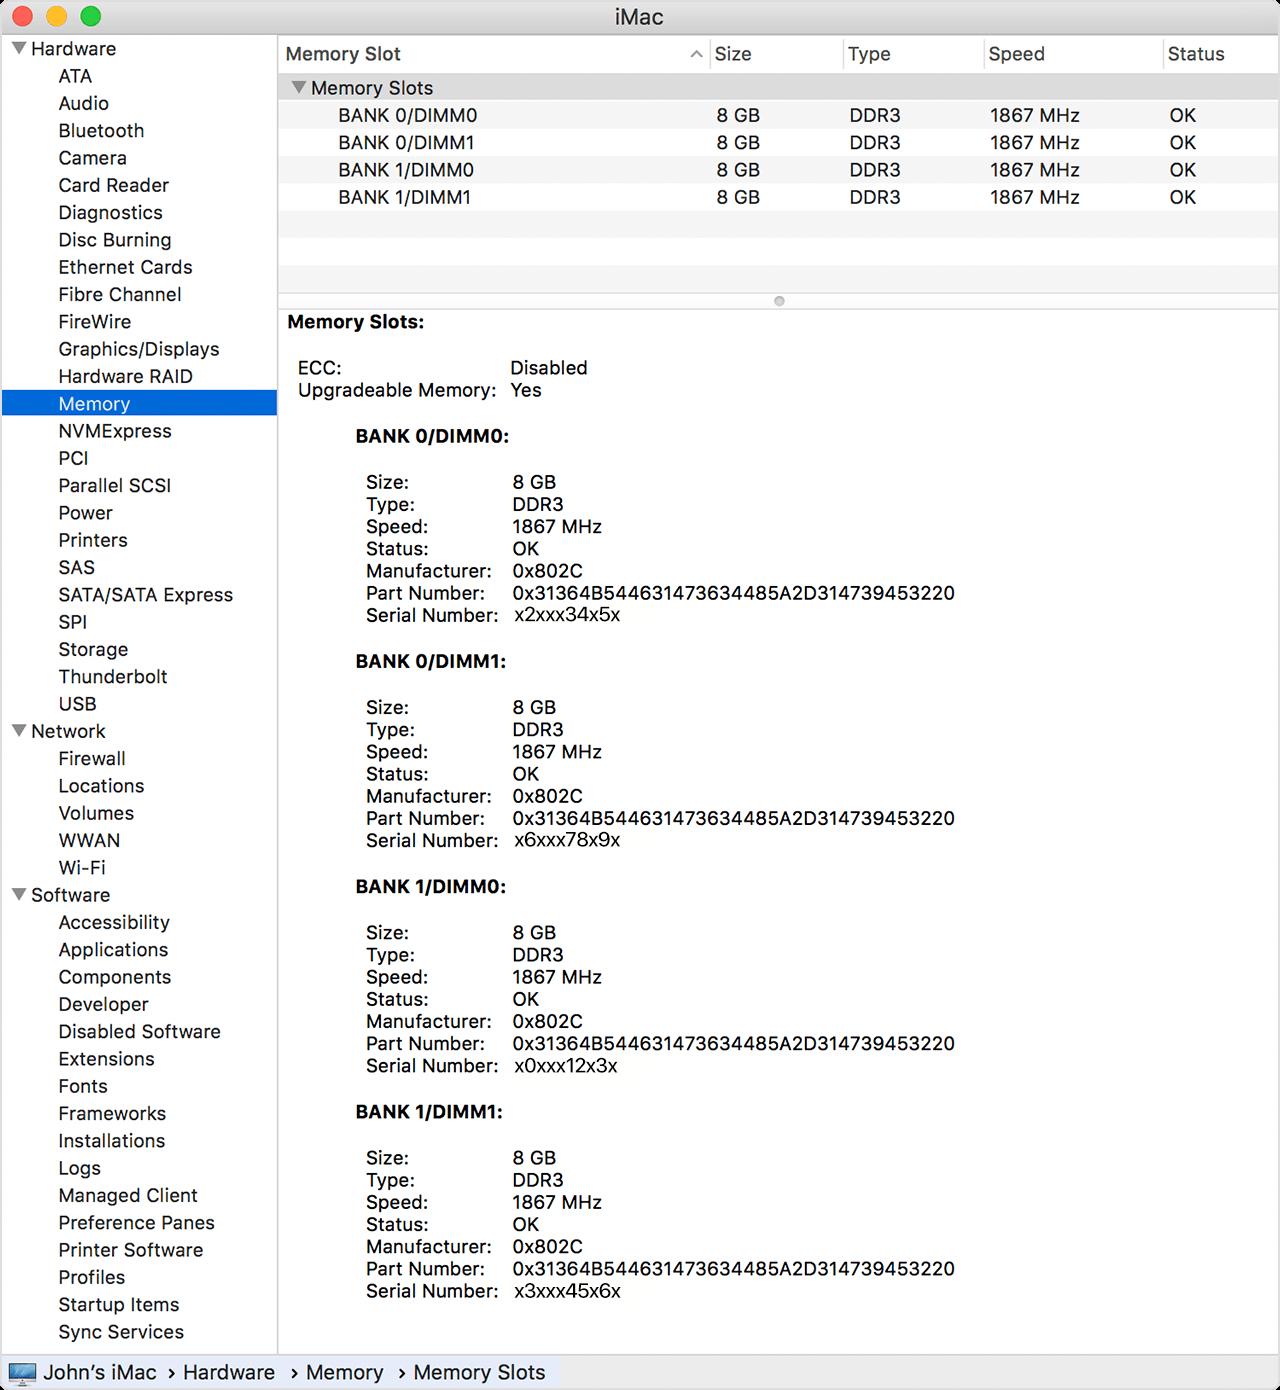
It's time to enjoy your new memory!
Our top equipment picks
When it comes to memory, it all comes down to price. Because of this, we're recommending the 64GB package for your upgrade.
For most folks
64GB (4 x 16GB DIMMs)
$269 at Amazon $310 at B&H $310 at MacSales eShop
Make it work for you
If you want to give your computer a push, but don't want to go overboard, this is the memory upgrade for you.
Designed to help your system run faster and smoother, Crucial Memory is one of the easiest and most affordable ways to improve your system's performance.
Additional Equipment
You can go high (or low) with these alternative memory packs.
128GB (4 x 32GB DIMMs)
You can't do any better than this on your 2019 27-inch iMac. Yes, it's blazing fast!
32GB (2 x 16GB DIMMs)
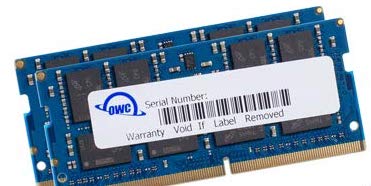
Even this upgrade will give your iMac a nice bump.
Rosewill anti-static wristband

Static electricity can damage sensitive Mac parts, so remove the risk with an anti-static wristband. Fasten it around your wrist and clip it onto your Mac for peace of mind.
from iMore - The #1 iPhone, iPad, and iPod touch blog https://ift.tt/2DiLPDO
via IFTTT
No comments:
Post a Comment